How To “Nail” It

This season, fancy nails are the new “It Bag” but the good news is, they are way more accessible than a Chanel. Nail art has become a conversation piece. Decking out your fingers with crazy colours and fun designs are the newest “it” way to show off your personality. Save all that extra money you put aside for that weekly manicure, and simply…DO IT YOURSELF!
After much practice, here is our 9 step “How To Nail It” program.
- Push back cuticle.
- Shape and file the nail edge.
- Gently remove surface shine using a nail buffer or a smooth nail file.
- Warm the product between their fingers / hands for 1-2 minutes before removing from backing sheet.
- Select the press on nail nearest to your cuticle size (these can be trimmed to fit if needed).
- Do not touch the adhesive side of the wrap that will be used on your nail.
- Place at the cuticle edge and press FIRMLY on to the nail. Work from the cuticle edge applying pressure. Smooth the wrap from the middle to the outside edges of the nail.
- If you have any creases, lift wrap slightly and stretch back over the nail. Apply pressure & smooth again.
- Taking a smooth nail file, remove excess wrap by running file under the nail.
The best part? You can do all of this while sitting in your pajamas, watching X-Factor, and drinking a glass of wine. The Blonde & The Brunette say “Cheers to that!”
Here’s The Blonde and The Brunettes top 5 favorite DIY nail companies.
- a.) Nail Rock $6.65
- b.) Minx $18.99
- c.) Nail Ect $7.99
- d.) Sally Hansen $7.99
- e.) Kimmie Kyees $8.49 (Katy Perry is a big fan!)
Xx. Jadan Huter


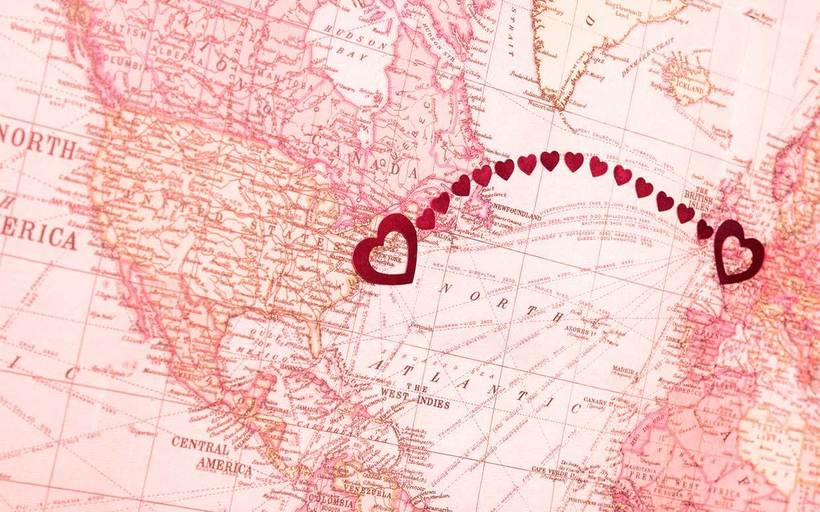 HOW TO MAKE A LONG DISTANCE RELATIONSHIP WORK