DIY Black & White Fashion Pumpkins

Just in time for Halloween, and so very Blonde & Brunette! We wanted to share our favorite signature DIY black and white pumpkins, NJ will be including at her party Saturday night. It’s so easy, there isn’t much to explain! I’ve personally never been a big fan of carving pumpkins. The mess, the smell, the clean-up, call me lazy but painting your pumpkins is the chic new way to get festive this Halloween!

What You’ll Need :
Mini-Pumpkins : Washed & dried.
Acrylic Paint : Black & White
Thick & thin paint brushes.
Oil-based paint pens and/or a sharpie in black and white.

Step 1. Paint all your pumpkins with a black or white base coat. Let dry. Repeat. Use a dabbing motion to apply the second coat of paint. That way, they won’t come out streaky and you will get an all around better coverage. Let them dry overnight before you add any designs.
Step 2. Practice your designs on paper if you don’t feel confident enough to paint your image straight onto the pumpkin. A step I neglected to do, and ended up ruining a couple of my pumpkins because my brush strokes didn’t match the idea inside my brain. Oops! Haha, next time!
Step 3. Make sure all paint pens, and or sharpies are fresh and have been shaken up. Don’t press too hard, or the pen will scrape off the dried paint on the pumpkin.
Step 4. Wait for each row of paint or sharpie to dry before moving on to the next row. This will reduce the chances of smearing wet paint and ruining your masterpiece!

We painted tribal/mod-inspired pumpkins to match the decor of our annual spooky Halloween party. But, as the saying goes, the pumpkin is your oyster, or something like that! Use our step by step, and design your Halloween to look however you wish! We’d love to see your finished products, tag #BNBDIYPumpkins on Twitter or Instagram and have a very HAPPY HALLOWEEN!
Xo. The Blonde & The Brunette Team


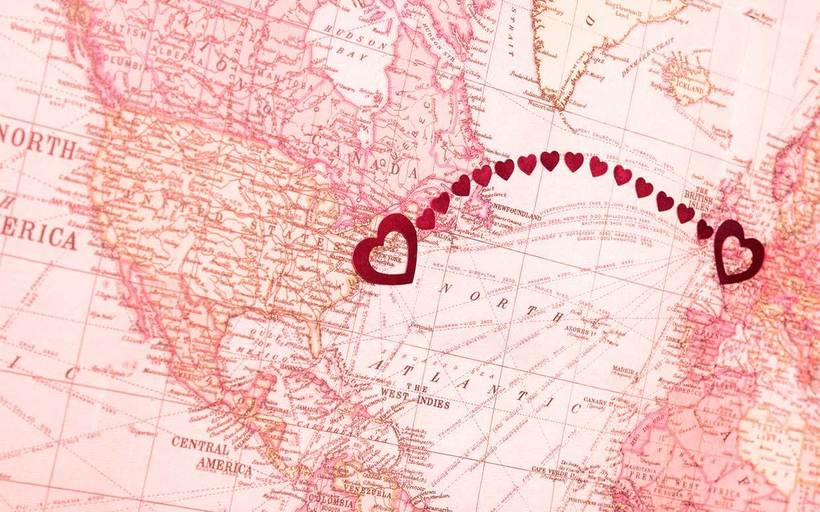 HOW TO MAKE A LONG DISTANCE RELATIONSHIP WORK