How-To: Large Link Necklace

For the past couple seasons, heavy-gauge, large link chain necklaces have become a favorite in statement necklaces. Now that I finally have one, I wear it with everything from work dresses to weekend jeans. I had searched high and low for an affordable one for awhile; I wasn’t willing to spend $50+ for what I knew I could just make myself. So I did just that (it was really easy) and now I’m finally going to share with all of you exactly how you can make it too.
While in Downtown LA one day, I spotted a jewelry supply store and decided to check it out to see if they had heavy gauge chain…and they did! In fact, it was exactly like I had pictured. They had all different styles and colors. Because I was in a rush, I picked up this basic gold one.

Here was my list of materials:
- 18″ of chain (but feel free to get it longer or shorter depending on your preference)
- A lobster-claw clasp (or toggle, ring, whatever type you like)
- Loops to make the necklace adjustable, if needed. This is not required. If you chose a longer length chain, you may not need this at all. Also, there are many different ways you can create the closure by experimenting with ribbon, smaller gauge chain, and other materials. For the sake of simplicity, I went withsimple loops this time around.
- Jewelry pliers. I happened to already have some jewelry pliers at home, but you will need to buy those if you do not own them already.
The grand total: $4.62.


So now for the step-by-step:
- Pry open one of the gold loops andhook it onto one end of the heavy chain.
- Slip another gold loop onto the first one that you pried open, and pry closed the first loop.
- Continue adding loops until you achieve desired length.
- Once you have reached your last loop, add your clasp.


Let us know how it goes and please feel free to send us photos of your own executions! We’d love to see them!
– Ashlee, Brunette Contributor


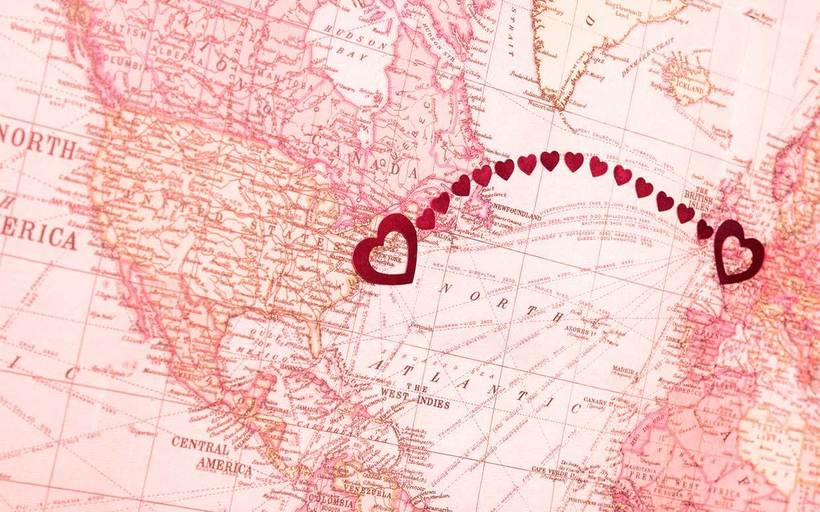 HOW TO MAKE A LONG DISTANCE RELATIONSHIP WORK