Oscar Fun: DIY Glitter Nails

Running out to an Oscar party? Need a beauty fix? Who doesn’t love a little bling on the nails! After many trials and lots of glitter spills, I have mastered the DIY glitter nail art manicure and today seemed the perfect day to share it. I opted for a mix of ombre glitter and solid colors but I love doing a uniform look too. It’s Easy. All the tools you need are craft glitter, glitter nail polish and topcoat for your very own DIY Glitter Nail Art Manicure.
 My favorite is the Martha Stewart Crafts Glitter Multipack, 24 Per Pack. $19.20
When it comes to adhering craft glitter to your nails, the key is to use glittered nail polish too since traditional base or top coat is often too thin to hold the heavy glitter in place.
1. Pour glitter in a bottle cap or shot glass so you can easily dip your nail.
2. Paint each nail with a coat of glittered polish in a corresponding shade (you likely won’t see much of it) before immediately dipping your nail into the glitter.
3. Gently press the glitter into the glittered polish and to ensure you have fully covered the nail. (For Ombre dip half the nail at a time and use an old makeup brush to blend them)
4. Let fully dry and repeat on all nails
5. Let fully dry before adding another coat of glittered nail polish to seal in the glitter.
6. Clap your hands together over a trash bag to sweep away loose glitter
7. After completely dry, file away any rough edges and then top with a top coat.
We are also loving glitter tips as recently seen on Anne Hathaway:

This is done using the directions above and then adding the glitter polish on the tip of your nail!
Looks like your Oscar-ready!
-Kathryn, The Blonde


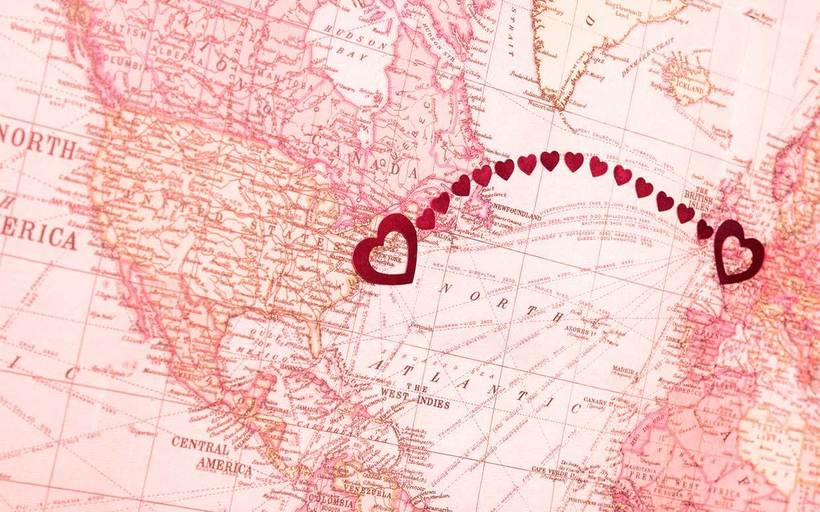 HOW TO MAKE A LONG DISTANCE RELATIONSHIP WORK